To be able to use the JobLink for SAP modules, they have to be imported into the SAP system. This is done using transports. General configurations are stored in a basic transport package. It contains the following components:
•Package Z_JOBROUTER
•Function group Z_WEBSERVICES
•Module Z_CONNECTION_TEST (not yet implemented in JobRouter)
A separate transport package exits for each JobLink for SAP module. The files of the transport packages are uploaded to the SAP system and imported using transport requests.
Please note: The user having permissions to execute the transaction STMS (Object: _S_CTS_ADMIN_) is required for importing a transport package.
Uploading transport files
The files of the transport packages have to be copied into the import directory of the SAP system. The directory can be found using the AL11 transaction. This transaction lists the SAP directories:
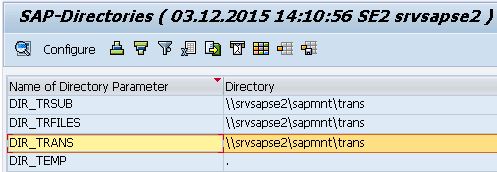
The import directory is displayed under the name DIR_TRANS.
Each transport package contains two files that are uploaded to the respective subdirectory of the import directory. Example:
File |
Type |
Directory |
|---|---|---|
K900186.SE2 |
Meta data (cofile) |
<DIR_TRANS>/cofiles |
R900186.SE2 |
Data file (data) |
<DIR_TRANS>/data |
The file names have the following structure:
<Type><Transport number>.<SAP system>
Type can have the following values:
•K - indicates a cofile file
•R - indicates a data file
Please note: The file names are not to be changed during the import!
Please note: The following transaction might not be available in different SAP systems. If this should be the case, the transport file has to be copied manually from the file system to the import directory.
Files are uploaded using the CG3Z transaction. There, the source file and target file have to be entered:
•Source file - entire path to the unpacked transport file (e.g. C:\Users\admin\Documents\SAP\Transporte\R900186.SE2)
•Target file - Import directory and file:
odata file - <DIR_TRANS>\data\R900186.SE2
ocofile file - <DIR_TRANS>\cofiles\K900186.SE2

Example uploading data file
Import task for the target system
For the uploaded file to be imported, a transport request has to be created. This is done using the STMS transaction.
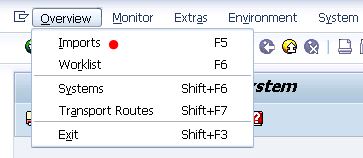
The target system can be selected in the menu Overview => Imports:
The following overview is displayed:
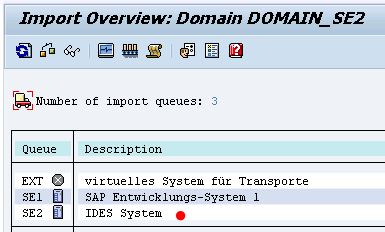
After double-clicking the name of the target system, a list of all import tasks of that system will be displayed. More tasks can be added here:
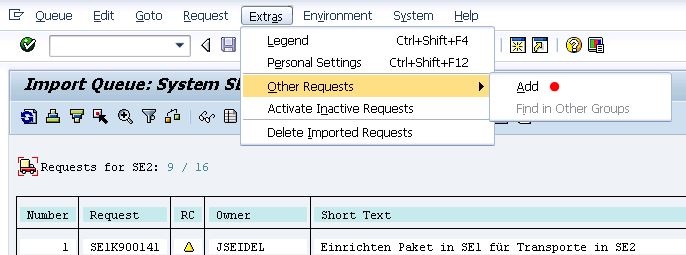
The following dialog is displayed:
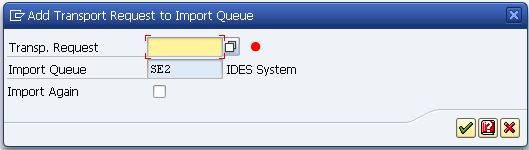
The button can be used to select the transport request (marked with <SAP system>K<transport number>):

If a request is selected, it will appear in the respective dialog:

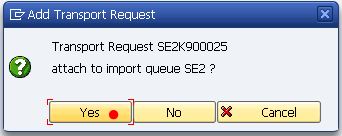
When executing the action, a confirmation prompt appears:
The transport request list will be displayed. The task can be imported as follows:
•Select the task and press Import transport ![]() (or CTRL+F11):
(or CTRL+F11):

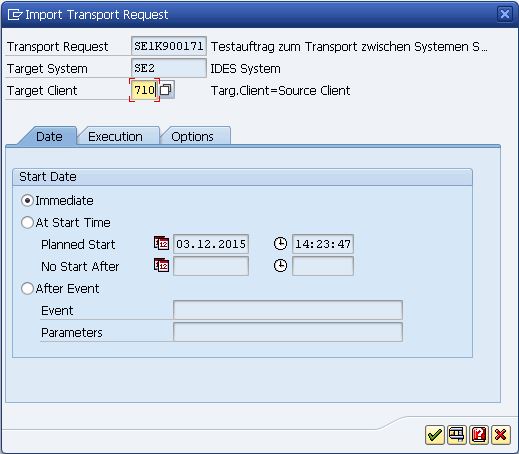
•Enter the target client in the dialog (client used to log into the system) and activate the radio button Immediate:
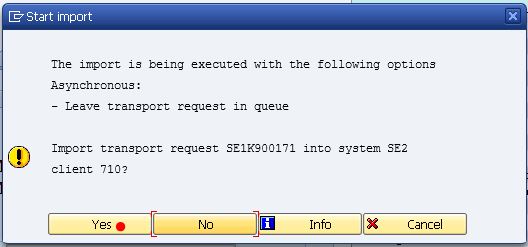
•After executing the action, a prompt will be displayed that has to be confirmed with Yes
•After confirming, the task will be listed in the import overview. If the task is not yet imported, a car symbol ![]() will be displayed in the status column. If the import is completed, a green check will be displayed. The view can be refreshed with F5 or the respective button
will be displayed in the status column. If the import is completed, a green check will be displayed. The view can be refreshed with F5 or the respective button ![]() .
.
