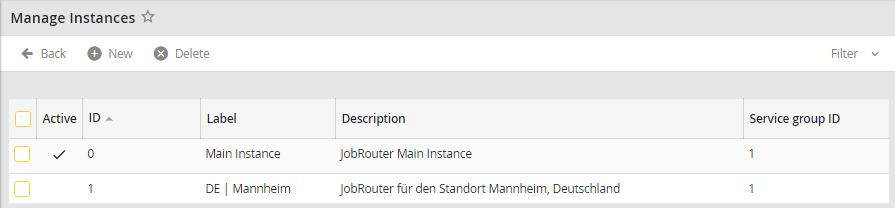
In the JobRouter main instance, select Configuration | Manage Instances. You will see the following overview:
Click New to create a new instance. The following popup appears:
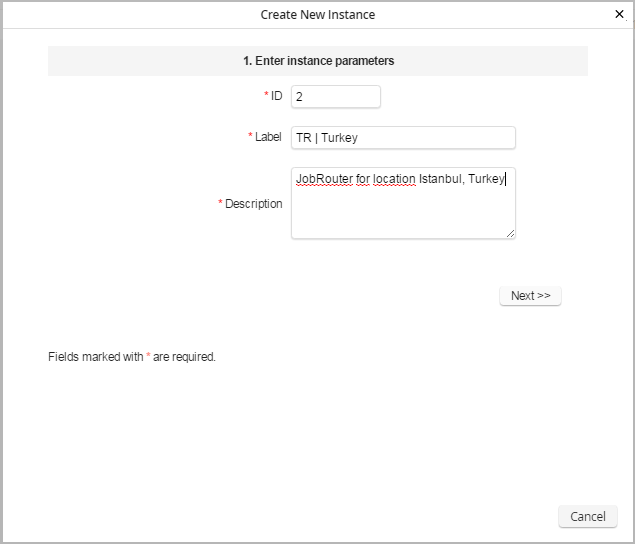
Enter the number of the instance in the ID field. The next highest number is automatically suggested. Enter the name of the instance into the Label field. The Description field can be used to enter an additional description for the instance.
Click Next and perform the next steps (similar to a normal JobRouter setup).
Checking required write permissions
When creating a new instance, the instance specific directories are placed as subdirectory in the respective directories of the main instance by default. This step checks if the necessary write permissions are available to create those subdirectories automatically.
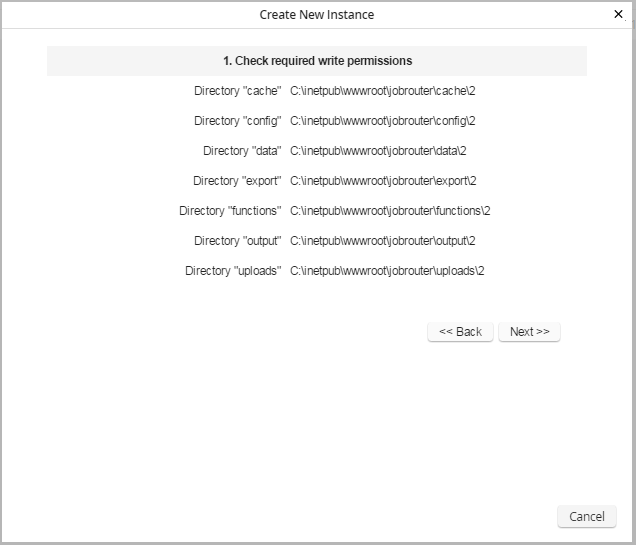
Click on Next to perform the test. If necessary the names of directories with missing writing permissions will be displayed.
Configuring the database connection
In this step you configure the database connection of the new JobRouter instance.
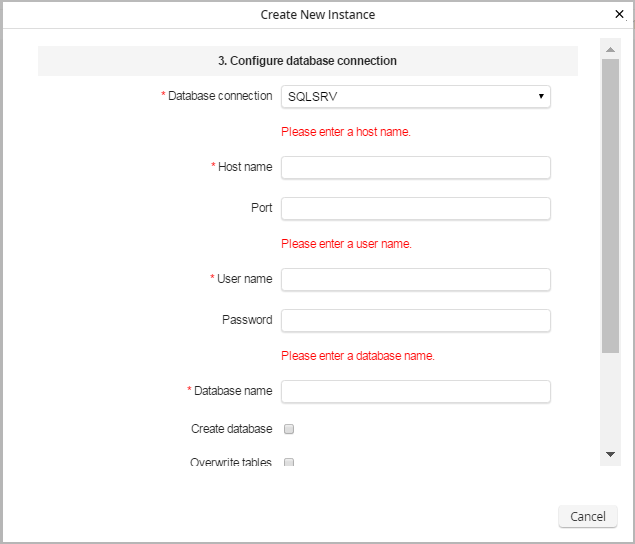
•Database connection: Choose the database connection type here. You can choose between MySQL respectively MariaDB, Oracle and SQLSRV. Depending on your choice you have to enter different parameters.
•Hostname: Enter the following data depending on the database type:
- SQLSRV: Hostname or IP address of the database server or instance name when using named instances.
- MySQL / MariaDB: Hostname or IP address of the database server.
- Oracle: Name of the database instance or TNS name.
•Port (Optional): Enter a port here, in case you do not want to use the default port of the respective database type.
•Username: Enter the database user under whose name JobRouter can log in the database.
•Password: Assign an accompanying password.
•Retype password: Retype the password.
•Database name: Define the name of the database here (SQLSRV and MySQL respectively MariaDB). If you are using Oracle, a default schema for the database user has to be created manually.
•Creating a database: In case the database does not exist yet, choose the option "Create database" (for, SQLSRV and MySQL respectively MariaDB). In case it already exists, deactivate this option.
•Overwriting tables: If there are already JobRouter tables in the database, choose the option, "Overwrite tables" so that JobRouter can be installed.
•Unicode support: Tick this checkbox to activate the unicode mode for SQLSRV. You should choose this option if you are planning on using different character sets.
•Forcing the CHAR length semantics: When defining alphanumeric columns (e.g. VARCHAR2) the stated field length for Oracle 9i will be interpreted as the maximum number of bytes that can be entered into the column. When a character string is saved in applications that support more than one byte (e.g. UTF-8), problems occur since single characters use more than one byte of storage and one character string, consisting of 20 characters, cannot be written into a column that was intended for a length of 20 bytes. Instead of these byte length semantics, since Oracle 9i there is the possibility to define columns so the given field lengths are interpreted as characters that can be saved in the column. By ticking this checkbox, you can force all JobRouter tables to be created with CHAR length semantics when JobRouter is installed. We recommend to always activate this checkbox when using Oracle.
For further information and an explanation, see: http://www.oracle-base.com/articles/9i/character-semantics-and-globalization-9i.php
Configuring the admin account
In this step you create the admin account of the new JobRouter instance. Please not that after this installation process you will only have access to the new JobRouter instance with this username and password.
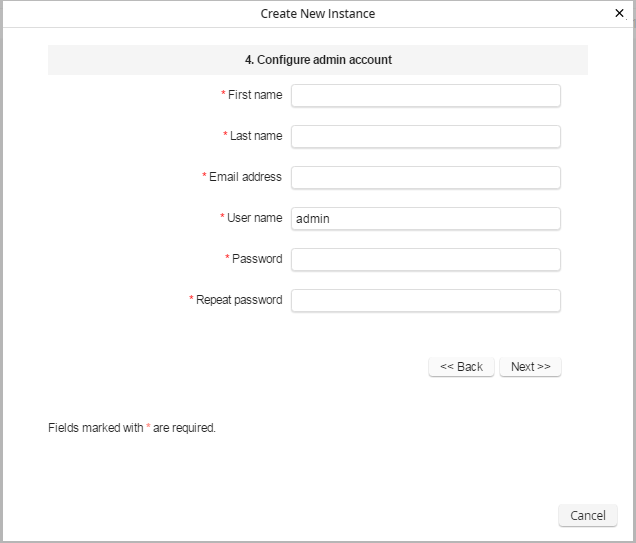
•First name: Enter the administrator's first name.
•Last name: Enter the administrator's last name.
•Email address: Enter the administrator's email address.
•Username: Define a username for the administrator.
•Password: Define a password for the administrator.
•Retype password: Retype the password.
Configuring JobRouter
In this step you configure the new JobRouter instance.
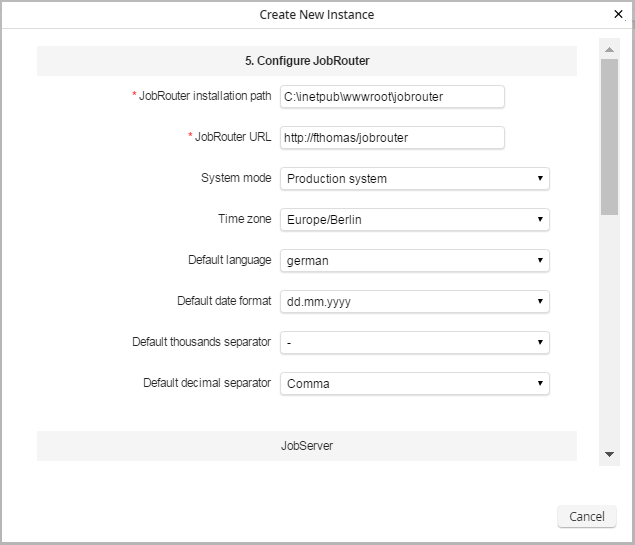
•JobRouter installation path: Verify the JobRouter installation path.
Please note: If you install the services on a server other than the one containing the Job Router web application, you must enter a UNC path reachable from this server and by the username(s) under whose permissions the JobServer and JobMail services run.
•JobRouter URL: Verify the URL under which JobRouter is available.
•System mode: Specify whether you want to install a production or a test system.
•Default language: Select the default language.
•Default date format: Select the default date format.
•Default thousands separator: Choose the character to use as thousands separator for large numbers.
•Default decimal separator: Choose the character to use as decimal separator for decimal numbers.
JobStart
The JobStart working directory is used by the JobStart module to store temporary files. Edit the directory as required. In any case, you have to create the directory by hand.
JobMail
The JobMail service sends all the JobRouter email notifications. To use it, you need to configure the access to an SMTP server here.
•JobMail active: Specify if email notification should be activated.
•Sender: Enter a name for the email sender, for example JobRouter.
•Email address: Specify the email address from which email notifications will be sent.
•BCC Email address: You can specify an optional email address to receive blind carbon copies (Bcc:) of every email notification sent.
•Username: If the SMTP server requires authentication, provide the username of the email account.
•Password: Enter the password associated with the above username.
•SMTP server: Specify the SMTP server via which notification emails will be sent.
Completing the installation
In this step you initialize the database for the new JobRouter instance.
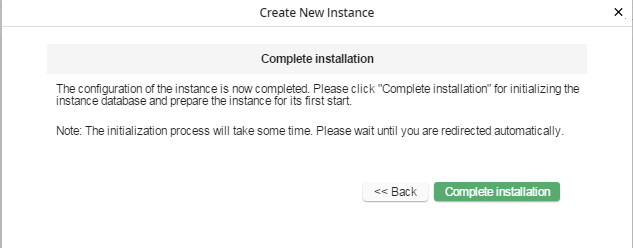
Click on Complete Installation to start the initialization of the database. As soon as the instance is installed, it will be confirmed with the following message:
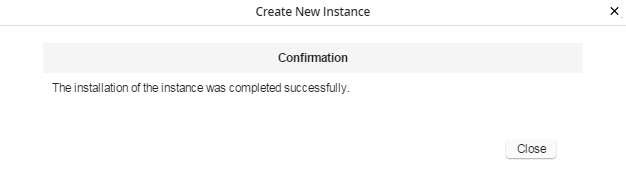
Now, click on Close. You will be automatically returned to the Instance overview. The new instance can be used now.